Scheduler Processor
Prerequisites
Scaderis Scheduler Processor requires:
- Microsoft .NET Framework 4.7.2 or higher.
- OPC Core Components Redistributables 3.00.108 or higher
Microsoft .NET Framework can be downloaded from the following address: https://dotnet.microsoft.com/en-us/download/dotnet-framework
OPC Core Components Redistributables can be downloaded from the following address: https://opcfoundation.org/developer-tools/samples-and-tools-classic/core-components/
A Windows service account must be created before starting the installer.
The database must be created and permissions configured before starting the installer.
Install the Service
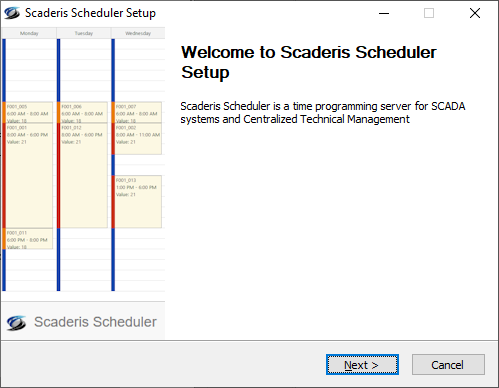
To install the Scaderis Scheduler Processor service, run the installation program "ScaderisSchedulerSetup.exe".


Click "Next"

Click "I Agree"
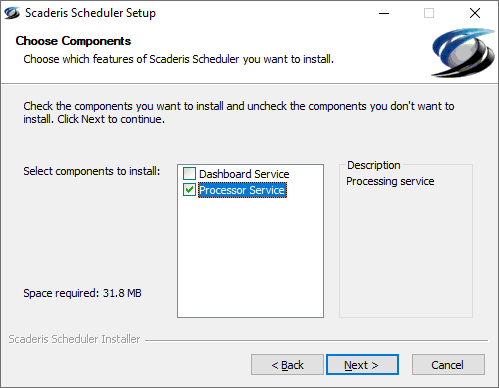
Select "Processor Service" then click "Next"

Select the location of the service account that will run the "Scheduler Processor" service (Domain account or local account). Enter its "User Name", "Password", then click "Next".
The service account must be created before proceeding to the next step.
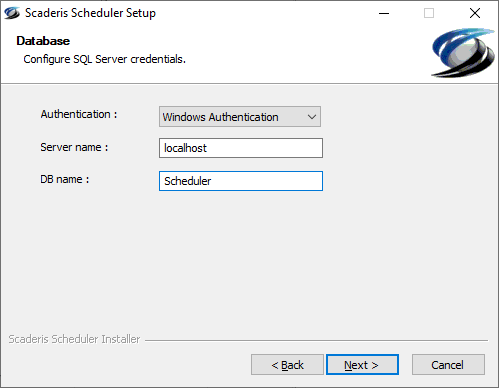
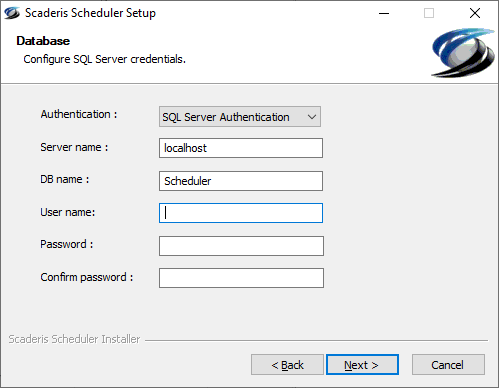
Select the database authentication mode (Windows Authentication or SQL Server Authentication) and enter the following information:
- Server name: name of the server where the Scheduler database is located
- DB Name: name of the Scheduler database
- User name: SQL Server account used by the "Scheduler Processor" to connect to the Scheduler database (SQL Server authentication only).
- Password: password for the SQL Server account used by the "Scheduler Processor" to connect to the Scheduler database (SQL Server authentication only).
The database must be created manually before proceeding to the next step.
Click "Next"
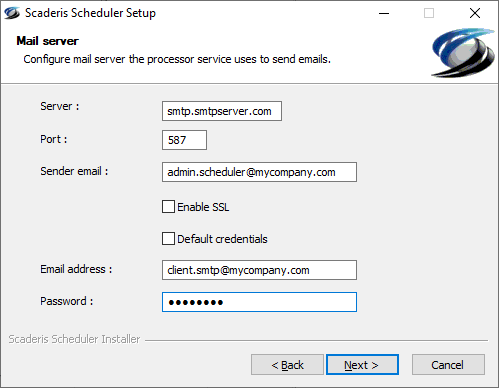
To allow the Scheduler Processor service to send notifications when a task fails, you must enter your mail server parameters as follows:
- Server: name of the mail sending server (SMTP server)
- Port: listening port of the mail sending server (SMTP port)
- Sender email: sender email address for the notification email (this email address must exist)
- Enable SSL: enables encrypted communication
- Default credentials: default identification of the SMTP client used by the Scheduler Processor to send emails.
- Email address: access identification of the SMTP client used by the Scheduler Processor to send emails (if Default credentials is not checked).
- Password: access password of the SMTP client.
Click "Next"
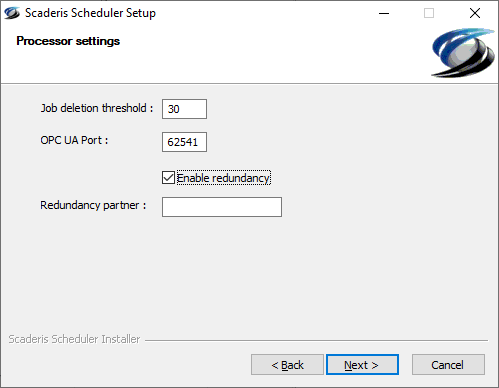
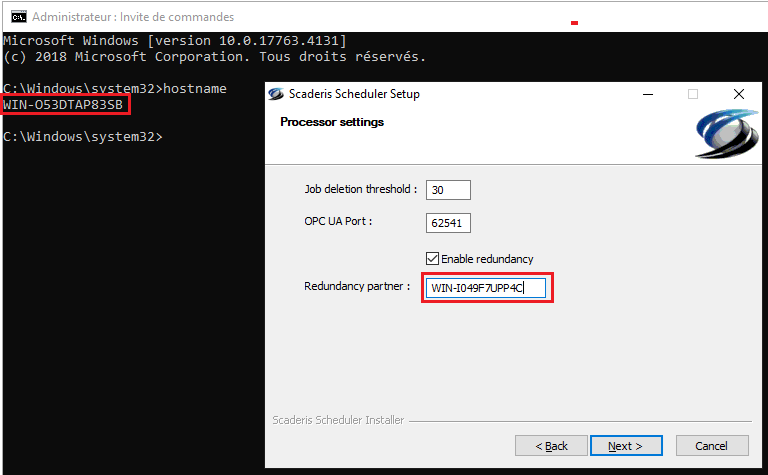
Enter the Scheduler Processor parameters:
- Job deletion threshold: retention period for completed jobs before deletion
- OPC UA Port: OPC UA server listening port
- Enable redundancy: enables Scheduler Processor redundancy
- Redundancy partner: name of the server where the Scheduler Processor is installed for task execution redundancy
Click "Next"
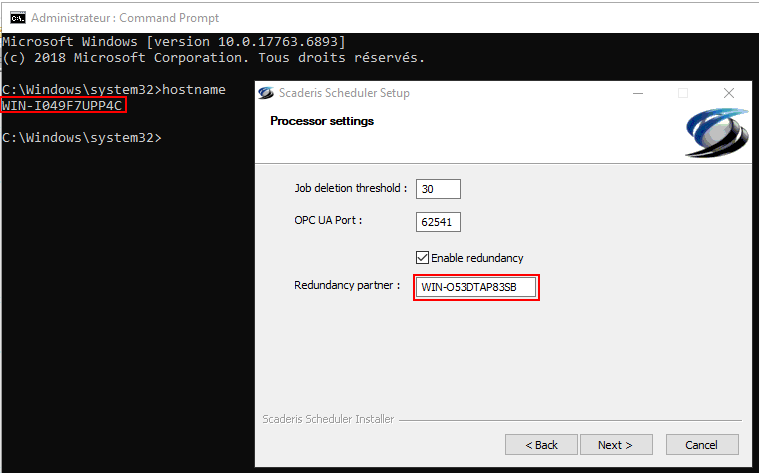
The "Redundancy Partner" parameter must be the Netbios name of the partner machine. It is not possible to configure an IP address.
Redundancy configuration must be performed on both redundant machines.
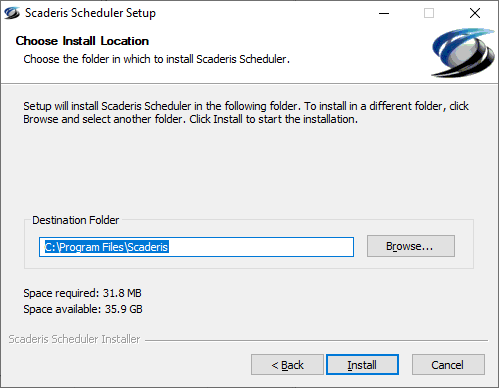
Choose the installation location for the "Scheduler Processor" then click "Install".
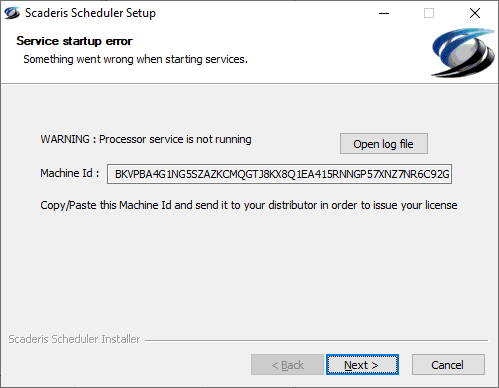
During the first installation of the Scheduler Processor, the service startup fails because the license has not yet been assigned. To obtain a license, copy the Machine Id and send it to your distributor. The Machine Id is also available in the Scheduler Processor logs at the following location: "C:\ProgramData\Scaderis\Scheduler\logs" (also accessible via the "Open log file" button).
To complete the installation, click "Next"
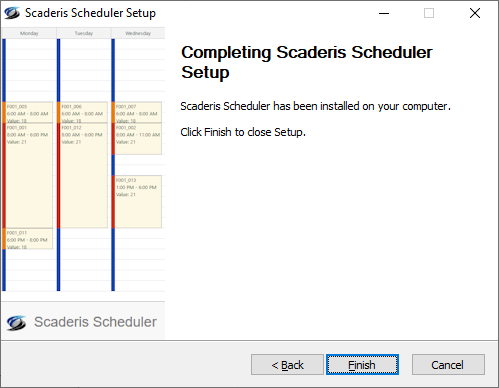
Then click "Finish".
Install the Processor Scheduler License
After sending your Machine Id (obtained at the end of installation and available in the Scheduler Processor logs) to your distributor, they will return:
- A "machine.lic" file containing the license, which must be copied to the "C:\ProgramData\Scaderis\Scheduler\License" folder
- A "license.key" file containing the license key, which must be copied to the "C:\ProgramData\Scaderis\Scheduler\License" folder

If you do not see the "ProgramData" folder:
Under Windows 11:
 In Explorer, click "View", then "Show", then "Hidden items".
Under Windows Server 2019:
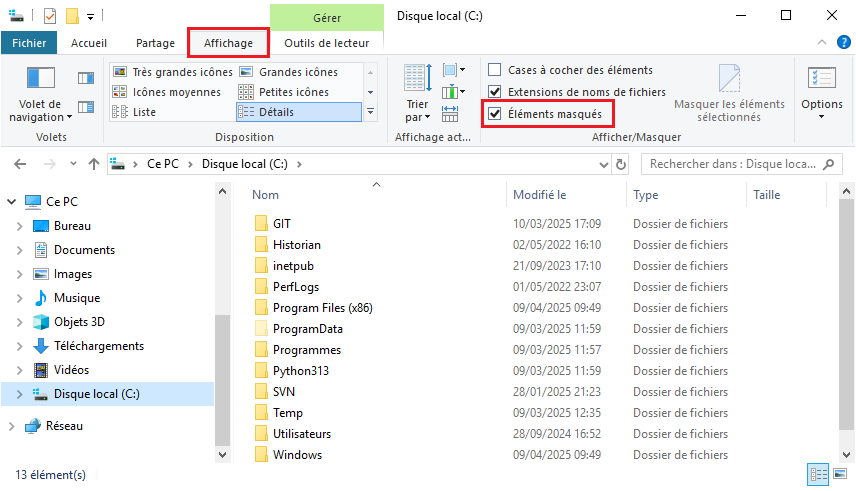 In Explorer, click "View", then check "Hidden items".
Modify the Service Installation
Go to Start > Settings


Click "Apps"

Search for the "Scaderis Scheduler" application and click "Modify"
Then go through the various screens as during the first installation. The values of the initially configured parameters will be proposed by default on the various configuration screens.
Start the Service
Open the Windows Services Manager:
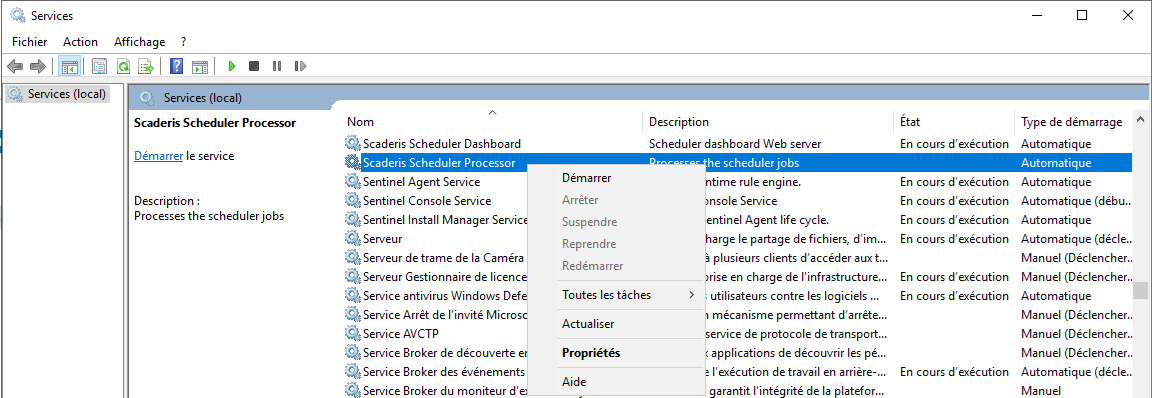
Select the "Scaderis Scheduler Processor" service, right-click and click "Start".
If the service fails to connect to the database, an error message indicates that the startup has failed. In this case, consult the service logs to confirm the origin of the problem.
View Service Logs
Service logs are generated in the "C:\programData\Scaderis\Scheduler\Logs" directory:

The logs for the "Scheduler Processor" service are those whose name begins with "Scheduler.Processor".
Redundancy
The diagram below shows a typical architecture for installing the Scaderis Scheduler solution in redundancy mode:
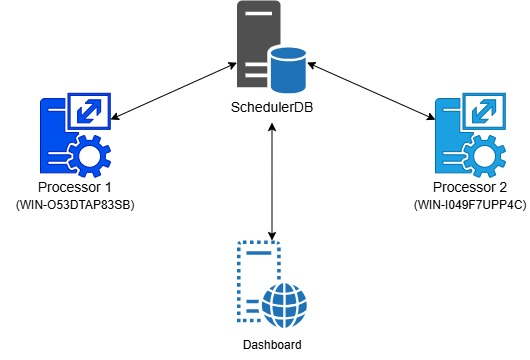
When installing the Scheduler Processor service on the first machine (Processor1), at the Processor configuration step:
- Check the "Enable redundancy" box
- In the "Redundancy partner" field, enter the name of the second machine
When installing the Scheduler Processor service on the second machine (Processor2), at the Processor configuration step:
- Check the "Enable redundancy" box
- In the "Redundancy partner" field, enter the name of the first machine
Once the installation is complete on both Scheduler Processor machines:
- Start the Processor services
- Start the Dashboard service
- Launch the Dashboard web interface
- Click on the "Servers" menu
The 2 machines should appear as below:

Configuration Files
The Scaderis Scheduler Processor service has 2 configuration files:
- A configuration file for the Processor:
InstallationDirectory\SchedulerProcessor\SchedulerProcessorService.exe.config
- A configuration file for the internal OPC-UA server:
InstallationDirectory\SchedulerProcessor\OPCUAServer.Config.xml
SchedulerProcessorService.exe.config
The following parameters are configured by the installer:
| Key | Description |
|---|---|
| connectionString | Connection string to the Dashboard and Processor database |
| jobExpiration | Retention period (in days) for Jobs in the database |
| redundancyPartner | Name of the machine where the redundant service is installed |
| smtpHost | Name of the SMTP server for sending emails |
| smtpPort | SMTP server port number |
| smtpFrom | Sender email address |
| smtpEnableSsl | SSL parameter activation flag |
| smtpUseDefaultCredentials | Flag indicating the authentication mode (checked: service account, unchecked: specific account) |
| smtpUser | Specific account for SMTP server authentication |
| smtpPassword | Password for the specific account for SMTP server authentication |
The jobExpiration parameter must be identical to that of the Scheduler Dashboard service
Example of the end of the configuration file:
<appSettings>
	<add key="connectionString" value="Server=localhost; Database=Scheduler;  Integrated Security=SSPI;"/>
	<add key="jobExpiration" value="30"/>
	<add key="redundancyPartner" value="RedundantServer"/>
	<add key="smtpHost" value=""/>
	<add key="smtpPort" value="587"/>
	<add key="smtpFrom" value="john.doe@mycompany.com"/>
	<add key="smtpEnableSsl" value="true"/>
	<add key="smtpUseDefaultCredentials" value="true"/>
	<add key="smtpUser" value=""/>
	<add key="smtpPassword" value=""/>
</appSettings>
OPCUAServer.Config.xml
The following parameter is configured by the installer :
| Key | Description |
|---|---|
| BaseAddresses | Address of the Scheduler Processor OPC-UA server |
It is saved in the XML file as follows:
...
<ServerConfiguration>
	<BaseAddresses><ua:String>opc.tcp://localhost:62541/Scaderis/Scheduler</ua:String></BaseAddresses>
	...
</ServerConfiguration>
...