Scheduler Dashboard
Prerequisites
Scaderis Scheduler Dashboard requires Microsoft .NET Framework 4.7.2 or higher.
Microsoft .NET Framework can be downloaded from the following address: https://dotnet.microsoft.com/en-us/download/dotnet-framework
Install the Service
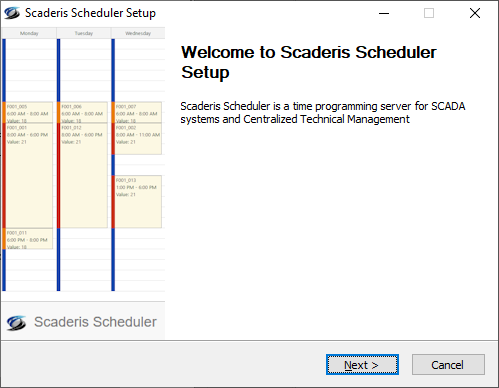
To install the Scaderis Scheduler Dashboard service, run the installation program "ScaderisSchedulerSetup.exe".


Click "Next"

Click "I Agree"
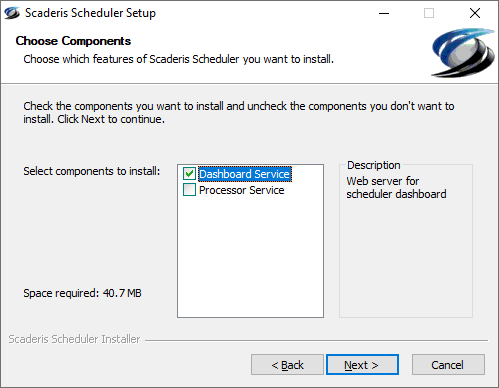
Select "Dashboard Service" then click "Next"

Select the location of the service account that will run the "Scheduler Dashboard" service (Domain account or local account). Enter its "User Name", "Password", then click "Next".
The service account must be created before proceeding to the next step.
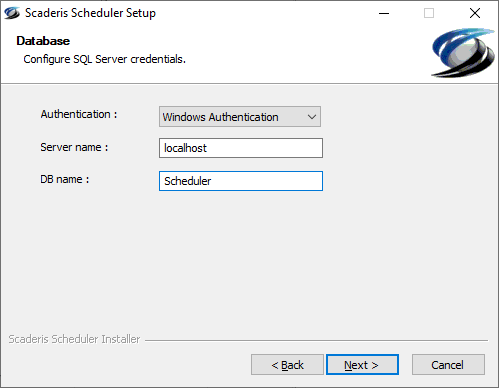
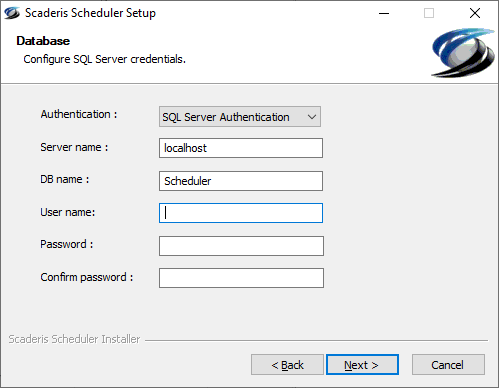
Select the database authentication mode (Windows or SQL Server) and enter the following information:
- Server name: name of the server where the Scheduler database is located
- DB Name: name of the Scheduler database
- User name: SQL Server account used by the Scheduler Dashboard to connect to the database (SQL Server authentication only).
- Password: password for the SQL Server account used by the Scheduler Dashboard to connect to the database (SQL Server authentication only).
Click "Next"

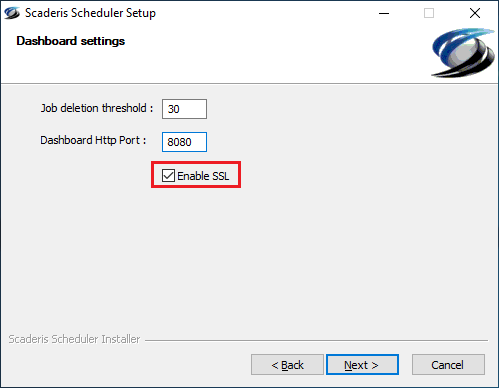
Enter the Scheduler Dashboard parameters:
- Job deletion threshold: retention period for completed tasks before deletion.
- Dashboard Http Port: listening port of the Scheduler Dashboard web server
- Enable SSL: enable encrypted communication between web browsers and the Scheduler Dashboard web server
Enabling SSL mode then requires importing the SSL certificate on all machines that need to access the Scheduler Dashboard.
Then click "Next".
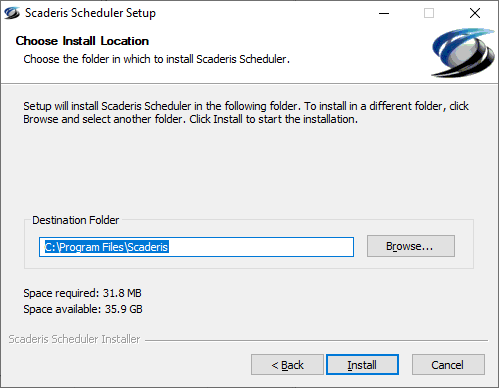
Choose the installation location for the Scheduler Dashboard then click "Install".
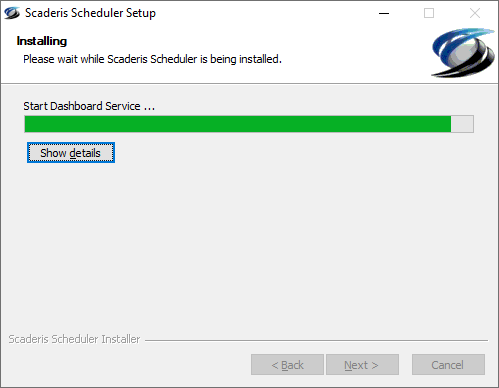

In case of error during service installation, the above window appears and allows access to the service log directory.
Modify the Service Installation
Go to Start > Settings


Click "Apps"

Search for the "Scaderis Scheduler" application and click "Modify"
Then go through the various screens as during the first installation. The values of the initially configured parameters will be proposed by default on the various configuration screens.
Start the Service
Open the Windows Services Manager:

Select the "Scaderis Scheduler Dashboard" service, right-click and click "Start".
If the service fails to connect to the database, an error message indicates that the startup has failed. In this case, consult the service logs to confirm the origin of the problem.
View Service Logs
Service logs are generated in the "C:\programData\Scaderis\Scheduler\Logs" directory:

The Scheduler Dashboard service logs are those whose name begins with "Scheduler.Dashboard".
Configure Permissions
Access to the Scheduler Dashboard website is secured by Windows authentication. During installation, the following groups are created:
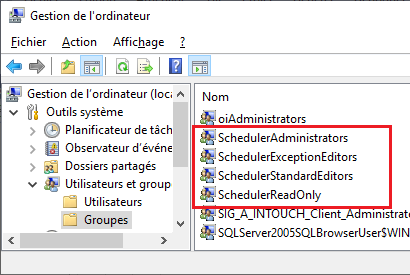
The rights of these groups are as follows:
| Windows Group | Role | Permissions |
|---|---|---|
| SchedulerReadOnly | Read only | Access to the entire dashboard in read-only mode |
| SchedulerStandardEditors | Standard calendar editors | Modification of standard calendars |
| SchedulerExceptionEditors | Exception and closure calendar editors | Modification of closure calendars Modification of exception calendars |
| SchedulerAdministrators | Administrators | Access to the "Configuration" menu Deletion of failed tasks |
Before being able to connect to the Scheduler Dashboard, it is necessary to add users to one of these groups.
By default, the user who installs the Scheduler Dashboard is placed in the "SchedulerAdministrators", "SchedulerStandardEditors", and "SchedulerExceptionEditors" groups.
To add users, open one of the groups:
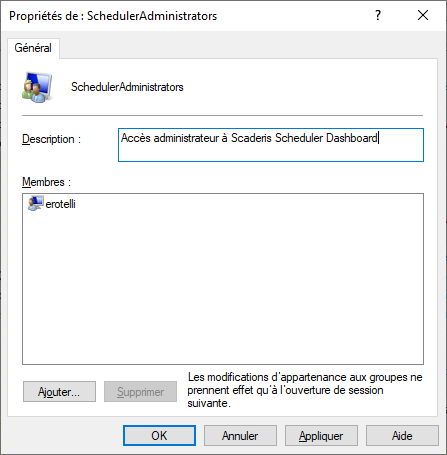
Click "Add".

Select a username or group name that will have the right to connect to the Scheduler Dashboard.
It is possible to select a username or a group from an Active Directory domain.
Click "OK".
SSL Configuration (Remote Web Client Side)
If the "Enable SSL" option was enabled during Dashboard installation
A "scaderisRootCA.crt" certificate is generated in the "C:\ProgramData\Scaderis\Scheduler\certs" folder.
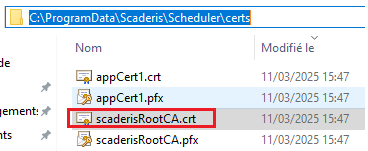
Copy/Paste this certificate to the remote machine wishing to connect to the Scheduler Dashboard web interface, then install the certificate as follows:
-
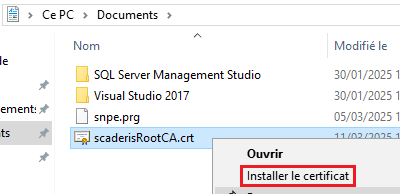
Right-click on the "scaderisRootCA.crt" file
-
"Install Certificate"
-
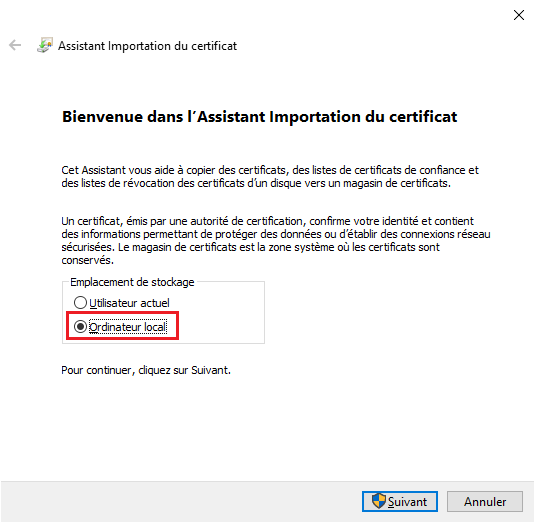
In "Store Location", select "Local Machine"
-
Click "Browse..." and select "Trusted Root Certification Authorities"

-
Click "Next"
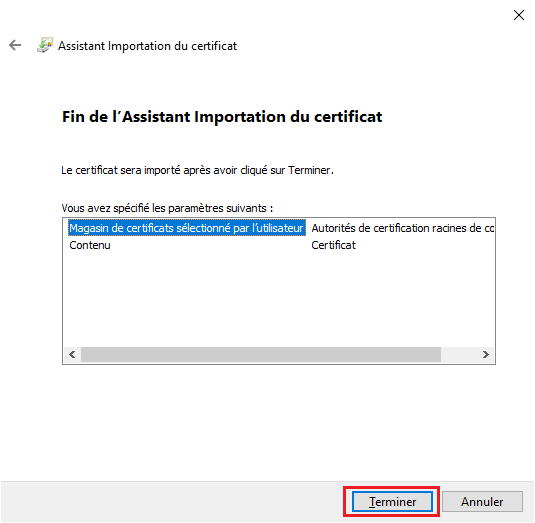
-
Click "Finish"
-
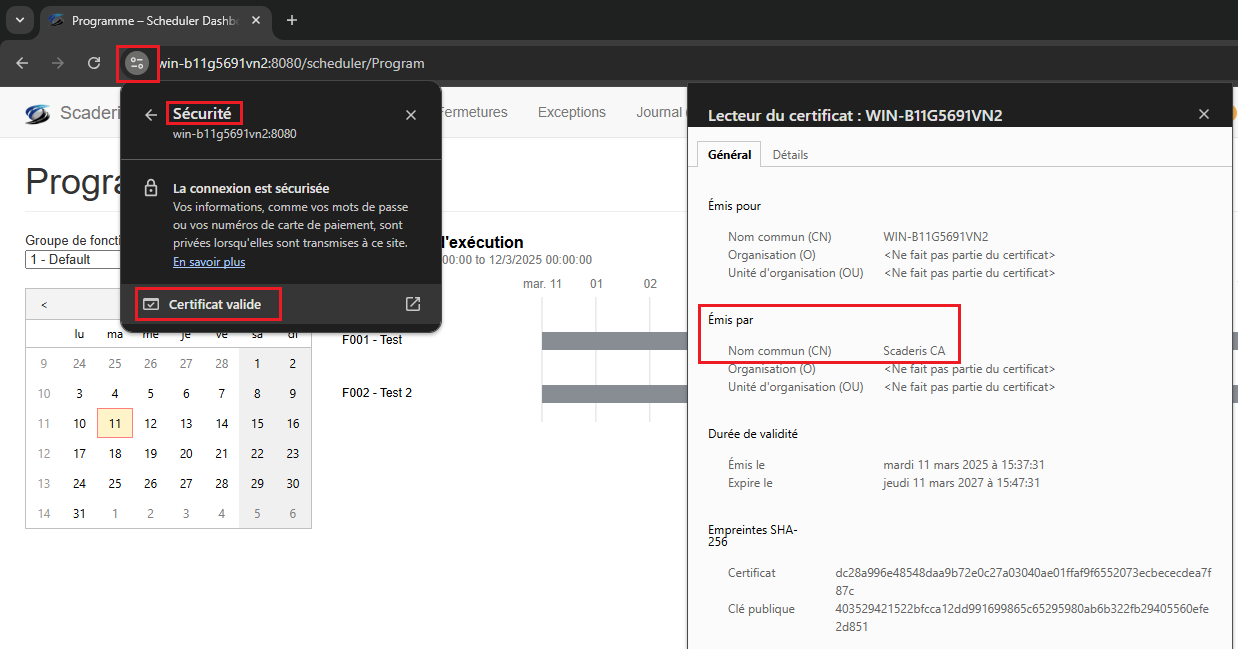
Connect from the remote machine to the "Scheduler Dashboard"
[https://ServerName:xxxx/Scheduler]
-
Authenticate with an authorized Windows account (see Configure Permissions)
-
The page is displayed in secure mode
Test Dashboard Connection
Access to the dashboard is via a web browser at the address: "http://<MachineName>:<port>/Scheduler" from a remote computer, or "http://localhost:<port>/Scheduler" from the computer where the Scheduler Dashboard is installed.
If the web server port is configured to 80, it is not necessary to specify it in the dashboard URL.
If SSL mode has been enabled, the URL starts with "https" instead of "http".
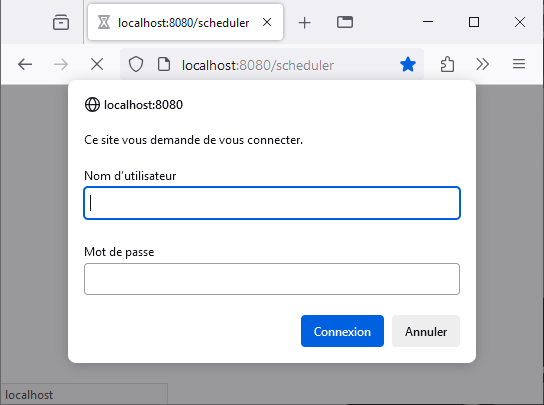
On first access to the Scheduler Dashboard website, authentication is required.
Enter a username that is in one of the authorized Windows groups.
Enter the associated password, then click "Login".
If the username/password combination is incorrect, the popup is displayed again.
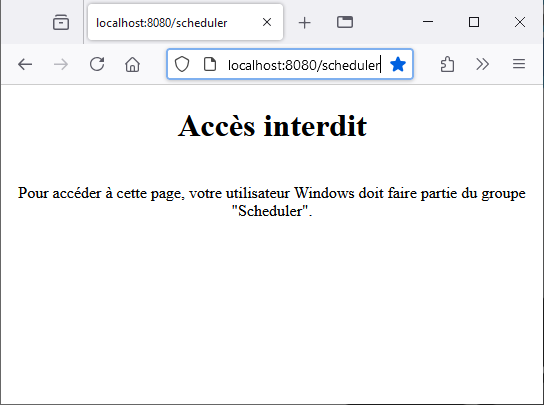
If the entered user is not part of one of the Scheduler's Windows groups, the following message is displayed:
If your internet browser is configured to automatically attempt Windows authentication, and you are logged into Windows with a user authorized to connect to the Scheduler Dashboard, the authentication popup will not be displayed. In this case, you will be automatically logged in with the current user.
Configuration File
The Scaderis Scheduler Dashboard service has a configuration file:
InstallationDirectory\SchedulerDashboard\SchedulerDashboardService.exe.config
The following parameters are configured by the installer:
| Key | Description |
|---|---|
| connectionString | Connection string to the Dashboard and Processor database |
| jobExpiration | Retention period (in days) for Jobs in the database |
| port | Web server port number |
| enableSsl | SSL parameter activation flag |
Example of the end of the configuration file:
  <appSettings>
	  <add key="connectionString" value="Server=localhost; Database=Scheduler; Integrated Security=SSPI;" />
	  <add key="jobExpiration" value="30" />
	  <add key="port" value="8080" />
	  <add key="enableSsl" value="false" />
  </appSettings>
Le paramètre jobExpiration doit être identique à celui du service Scheduler Processor