Database
Prerequisites
SCADERIS Scheduler works with all editions of Microsoft SQL Server from version 2012 onwards. It is notably possible to use the free Microsoft SQL Server Express edition.
SQL Server can be downloaded from the following address:
For administering the Microsoft SQL Server database server, it is necessary to install SQL Server Management Studio (SSMS). This can be installed on any machine that communicates with the machine where SQL Server is installed.
SQL Server Management Studio can be downloaded from the following address: https://www.microsoft.com/en-us/sql-server/sql-server-downloads
Create the Database
The database used by Scaderis Scheduler must be created before starting the Scaderis Scheduler Processor service.
To create the database, start SQL Server Management Studio (SSMS) and connect to the database management server with an administrator account.

Right-click on « Databases » and click « New Database… ».
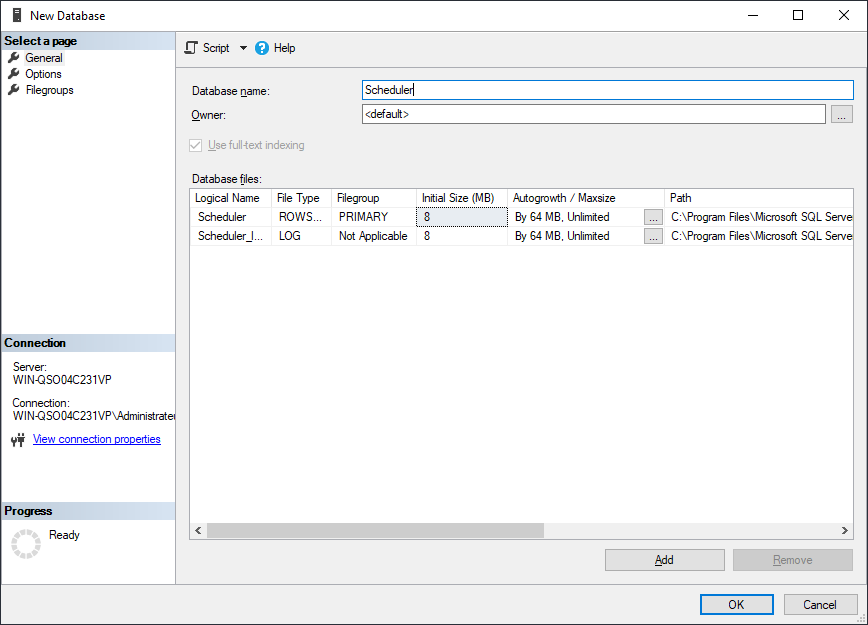
Enter a database name in the « Database name » field, then click « OK ».
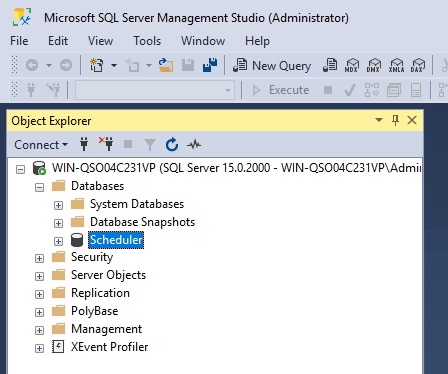
The new database appears in the « Databases » tree.
The database content (tables, views, stored procedures) is created automatically during the first start of the Scheduler Processor service.
Configure Permissions
Two configurations are possible for the Scheduler's connection to the database: Windows Authentication or SQL Authentication.
Using Windows Authentication is preferable in terms of security, as no password will appear in the Scheduler's configuration files.
Windows Authentication
Windows Authentication is based on using a Windows account for the Scheduler's connection to the database.
If the operating system on which SQL Server is running is connected to an Active Directory domain, it is preferable to create a new user in Active Directory dedicated to the Scheduler.
If the operating system is not connected to an Active Directory domain, it is necessary to create a new local user dedicated to the Scheduler.
The following examples describe the configuration of Windows Authentication in SQL Server for a user named « SchedulerService ».
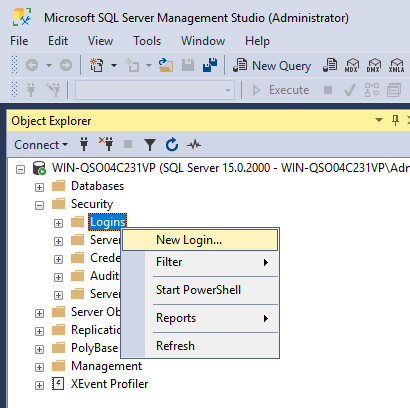
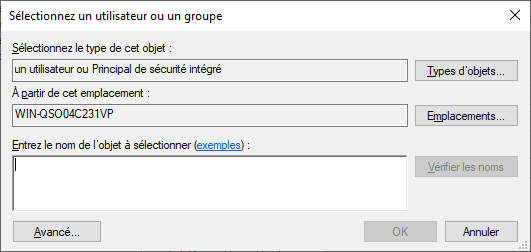
Navigate to « Security » then « Logins », right-click and click « New Login… ».
Click « Search ».
Click « Advanced… »
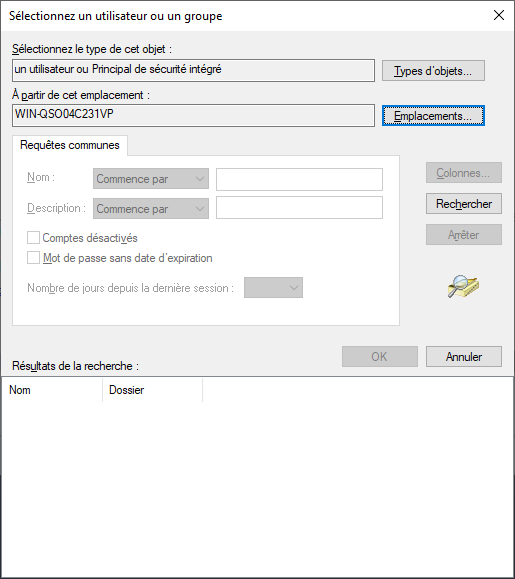
Click « Locations » and select:
- The domain name if you want to use a domain account
- The local machine name if you want to use a local account
Click « Find ».
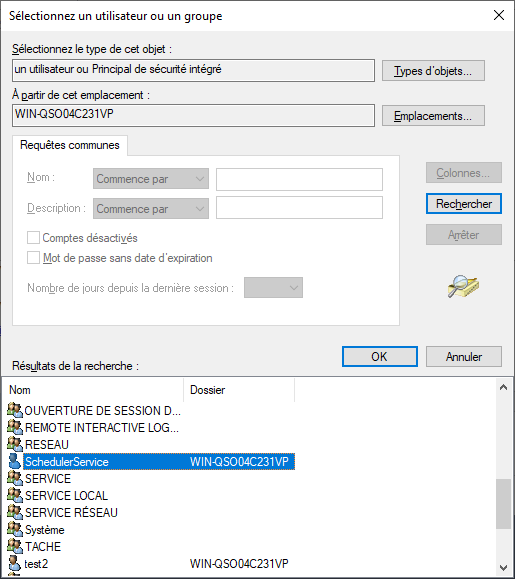
Select the desired user and click « OK ».
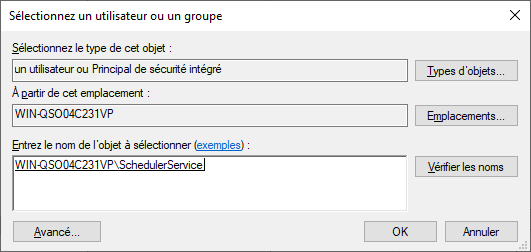
Click « OK ».

In « Default database », select the Scheduler database.
In the left menu, click « User Mapping ».
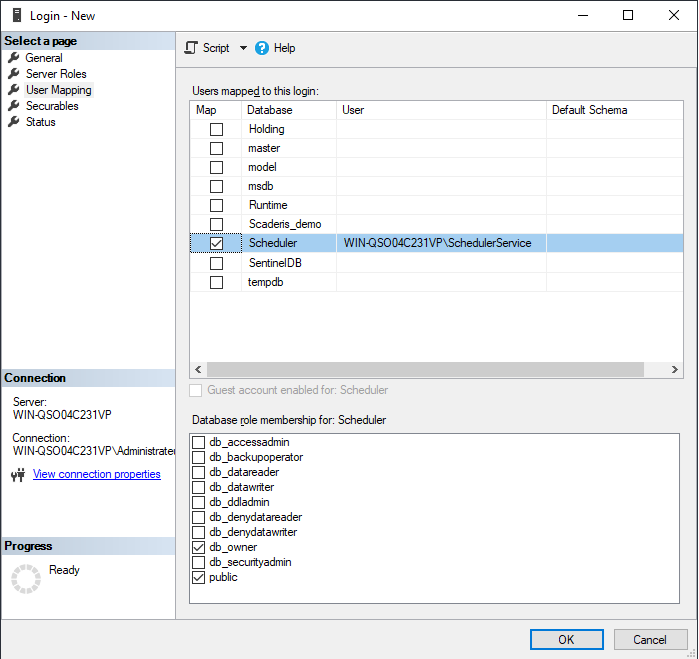
Check the Scheduler database.
In the « Database role membership » list, check the « db_owner » box.
Click « OK ».
This same user must be configured for the execution of the Scheduler Processor and Scheduler Dashboard services.
SQL Server Authentication
Enable SQL Server Authentication
To use SQL Server Authentication, it must be enabled. To do this, open SQL Server Management Studio (SSMS).
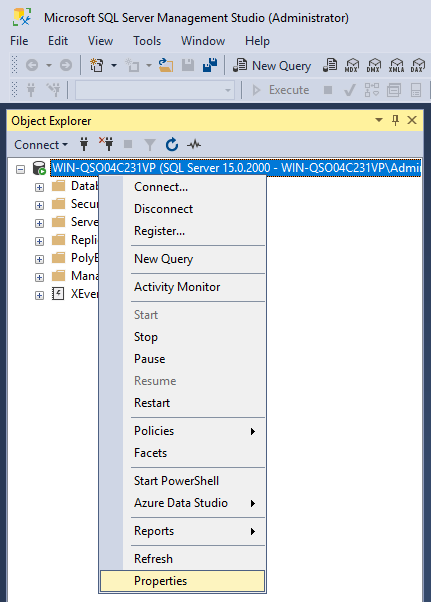
Right-click on the server name, then click « Properties ».
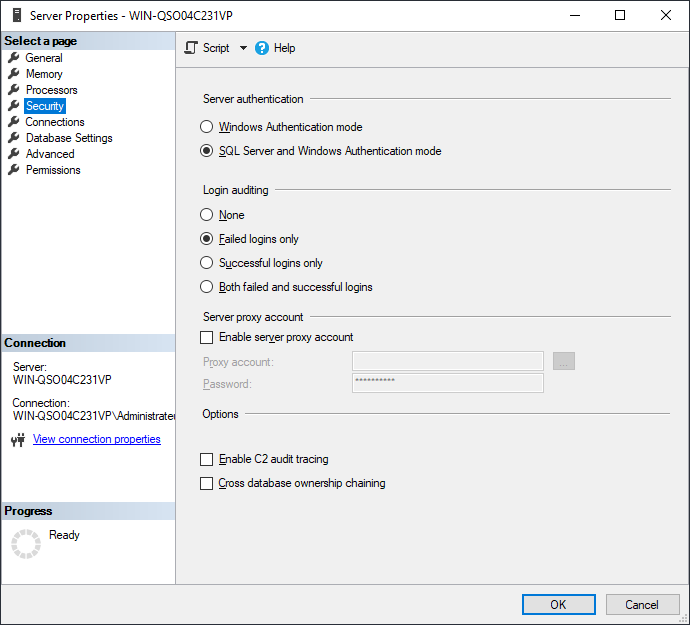
Click on the « Security » menu. In the « Server authentication » section, select « SQL Server and Windows Authentication mode ».

Click « OK ».
Restart the « SQL Server » service from the Windows Services Manager.
Create a SQL User
Click on « Security », then « Logins », right-click and click « New Login… ».

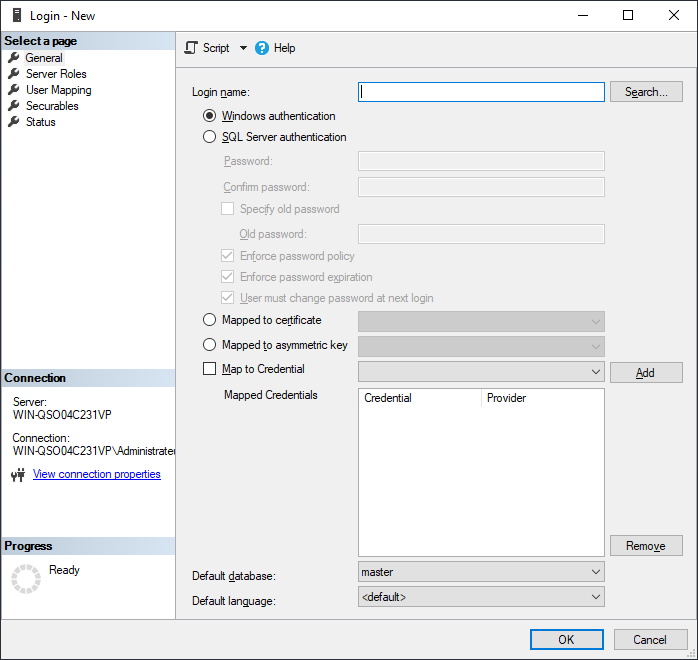
In « Login name », enter the username to create, for example « SchedulerDB ».
Select the « SQL Server authentication » option and enter the password twice.
Uncheck the « Enforce password expiration » box.
In « Default database », select the database created for the Scheduler.
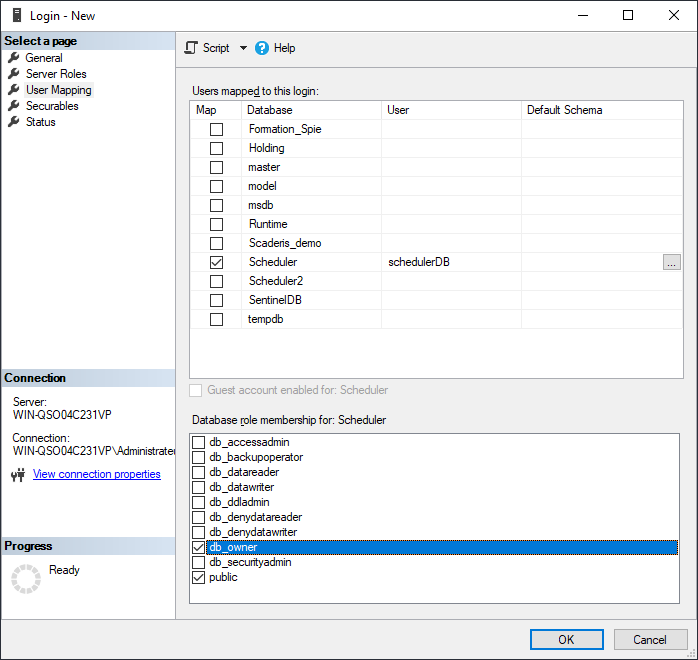
Click on the « User Mappings » menu.
Check the database created for the Scheduler.
In the « Database role membership » list, check the « db_owner » box.
Click « OK ».