Managing a Function
Creating a Function
A function allows you to define the different possible values of an attribute on an automation object.
To create a function:
-
Log in to the Scheduler Dashboard
-
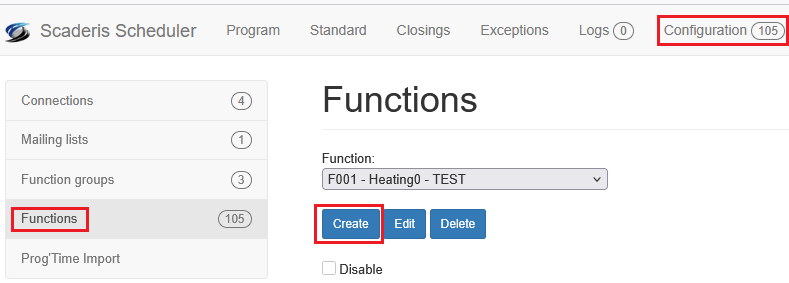
Click on the "Configuration" menu, then on the "Functions" submenu
-
Click the "Create" button
-
In the "Description" field, enter a description for the function
-
Check the "Disable" box if you want to disable the function
-
In the "Function group" field, select the function group to which the function should be associated
-
In the "Calendar precision" field, select the calendar precision
-
In the "Mailing list" field, select the distribution list to be associated with the function if needed, otherwise select the value "---none---"
-
In the "Connection" field, select the connection to which the function should be associated
-
In the "Attribute" field, enter the reference of the Tag on the target OPC DA or UA server
-
In the "Datatype" field, select the type of the attribute
Modifying a Function
To modify a function:
-
Log in to the Scheduler Dashboard
-
Click on the "Configuration" menu, then on the "Functions" submenu
-
In the "Function" field, select the function to modify
-
Click the "Edit" button

Deleting a Function
To delete a function:
-
Log in to the Scheduler Dashboard
-
Click on the "Configuration" menu, then on the "Functions" submenu
-
In the "Function" field, select the function to delete
-
Click the "Delete" button
